
I would like to bring to your attention easy sewing tutorial for making very tender tilda tulips, which will fill every corner of your house with scent of spring! A woman of any age will be delighted to receive such a bunch.
To make the tulips you will need:
– two types of fabric: green and red (the most suitable – 100% cotton);
– holofiber (or padding polyester);
– a spotted satin ribbon;
– a thread matching the fabric color;
– scissors (zigzag or common);
– a needle;
– sewing pins;
– a sushi chopstick;
– a pattern;
– a marker for fabric (if there is no, you can take a writing pencil or a chalk);
– a sewing machine.
Pattern tulips

How to easy sew tilda tulip
Cut out the pattern details.
Take the green fabric and transfer a leaf (2 details) and a footstalk (1 detail) onto it.
Pile the leaf details face to face, fold the footstalk detail in half vertically and seam them, using sewing machine; do not forget to leave holes for turning out. Cut out the details with zigzag scissors (or with common ones, making notches transversely to the seam in every curved and concaved area), leaving seam allowances of about 5 mm.

Then, take the red fabric and repeat the similar moves.
Turn the details inside out, using a sushi chopstick, and iron them.
Stuff the footstalk and the bud tightly with holofiber, do not sew up the holes for turning out.

Take the bud and tight up its lower part manually, using a thread and a needle.
It is necessary to tight it up to fit our footstalk diameter, make no knot.
Insert the footstalk into the bud detail and sew them together, using small invisible stitch.

The result:
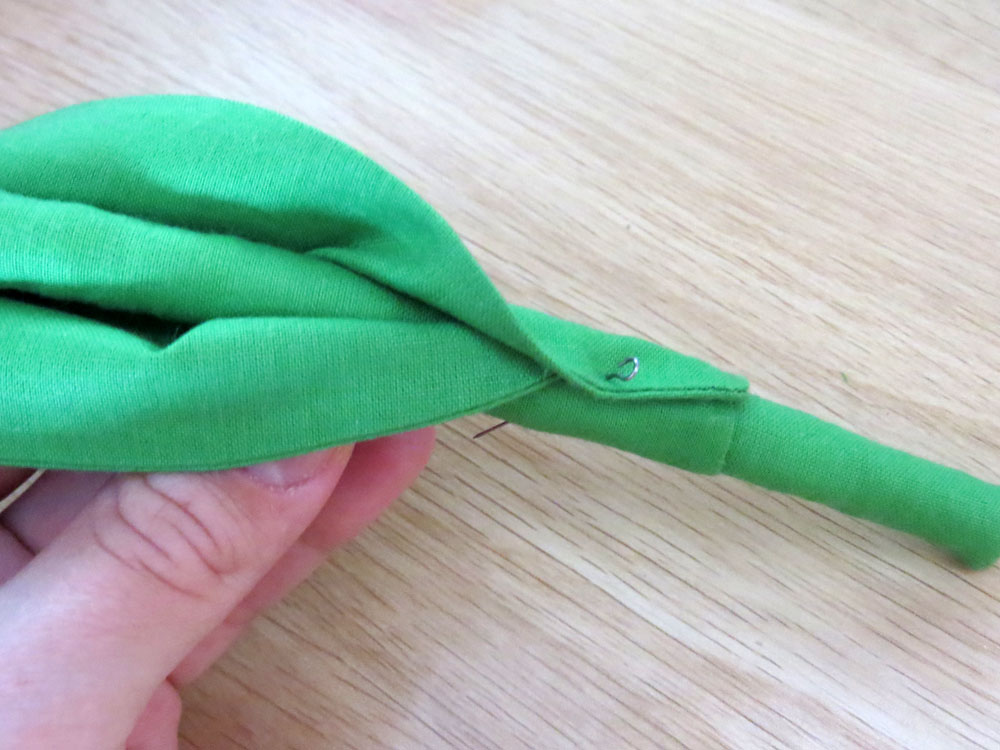
Take a leaf and pin it to the footstalk.

Sew down the leaf to the footstalk with green thread, using invisible stitch.
Our tulip is ready!

Make the rest of the tulips the same way. It looks nice, when a bunch consists of 7 or more flowers. Decorate the bunch with a satin ribbon matching the color of the buds.


