To sew a bralette you will need:
- lace – 1.5 -2.0 m
- 20 cm jersey/microfiber for cup lining
- bra straps (or make them yourself – strap – 1m, 2 adjusters, 2 rings ), 1 clasp 3.5 cm wide
- 1.5 m of elastic for cup and waistband trim

Bralette Sewing pattern – it’s on the website. Sewing pattern is suitable for stretch fabrics, lace and mesh:

Elina Lace Bralette sewing Pattern PDF
Sewing pattern lace waistband bralette «Elina». Materials are suitable for sewing a lace waistband bralette: elastic lace, knitted fabric. In the kit are given patterns for cutting parts (cups and waistband) of lace and lining detail of jersey or microfiber. The waistband is modeled with a 3.5 cm wide clasp. It can be adjusted to…
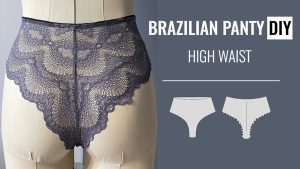
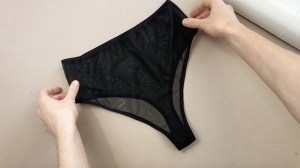
DIY Lace Bralette:
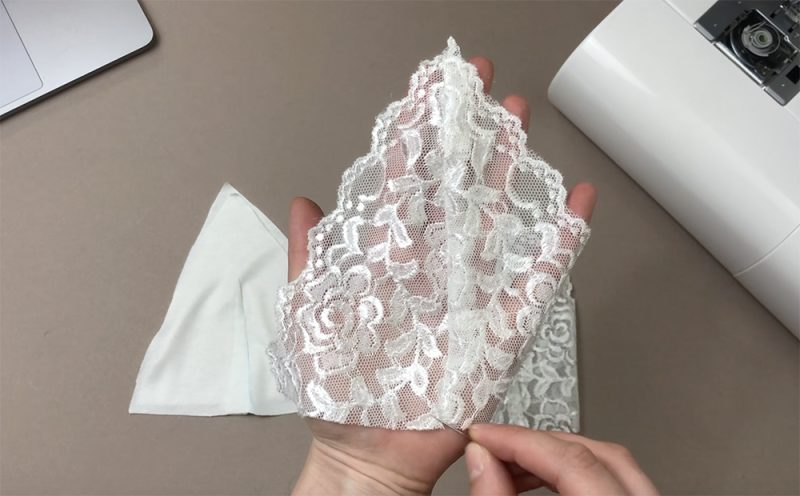
Let’s get to the sewing process. Cut out 2 triangle details with no allowances from knitwear and mark the darts on both parts – this is the lining.
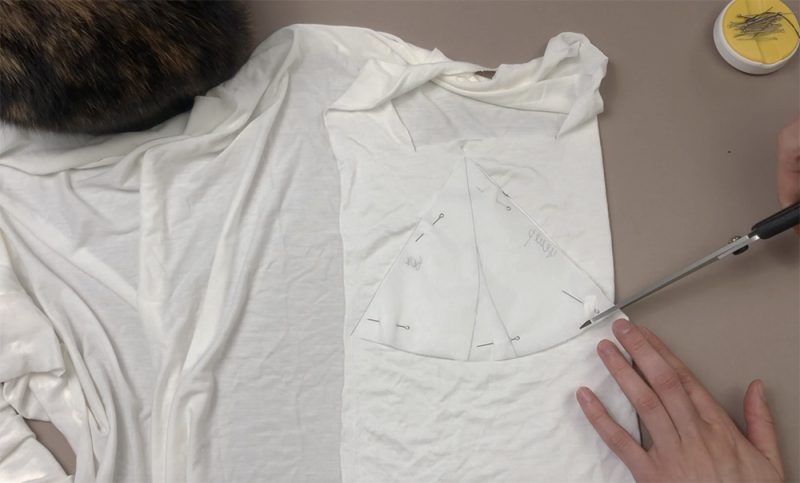
On the lace folded in half, lay out the pattern of one part of the triangle and the detail of the band with a fold, cut out the details with seam allowances

Now we combine face to face two halves of each triangle, pin together, for reliability baste them.
Lay a zigzag or stretch stitching for allowance-wide.
Each time you start a new stitching, help your machine by pulling on the threads.
This helps the machine advance the fabric further and not jam it. Also, when sewing lace, be sure to use stretch needles and adjust the pressure of the foot on the fabric so that the foot does not strongly press the lace against the plate, does not stretch it and does not interfere with the process.

Iron the allowance on the side of the larger piece.
We take the details of knitwear triangles, pin together the dart and lay a stitching, iron the dart on the bigger side.

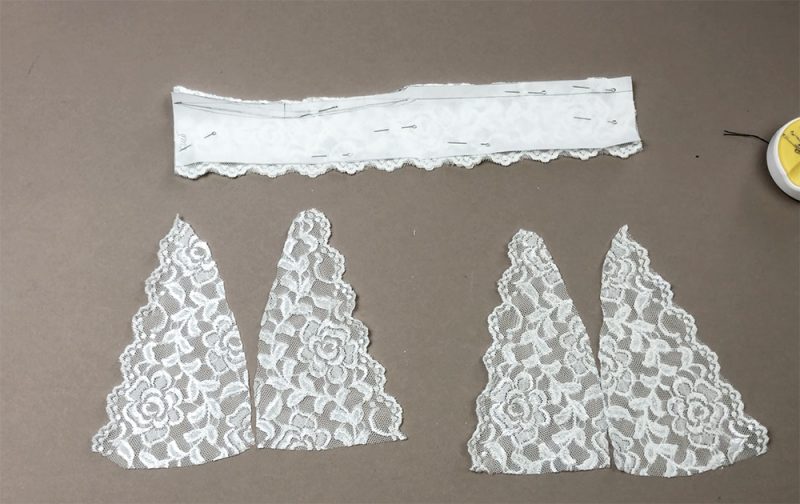
Now we have 2 knitwear triangles and 2 triangles from lace.
On the lace details stitch a small zigzag in the middle at a distance of 1-2 mm from the edge of the seam — this way we get a flatlock seam.
As we’ve laid a stitching, trim the remaining allowance.
Do the same with the second triangle. Take the lace details and put them upside down, and on the top — the right side up the knitwear details — so we coincide wrong sides — pin them together and baste them.
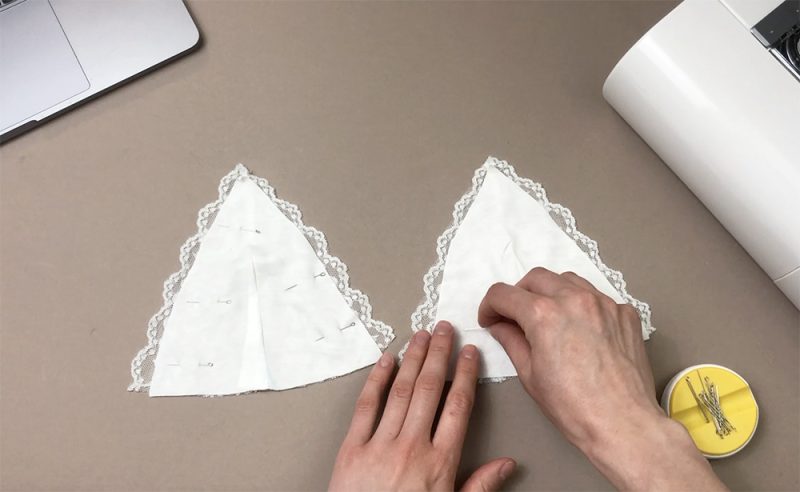
Now we take an elastic band and close the cut of the lining the following way — we pin the elastic band on top of the cut and stitch a three-stage zigzag on the width of the elastic band.

Do the same on both sides of both triangles.
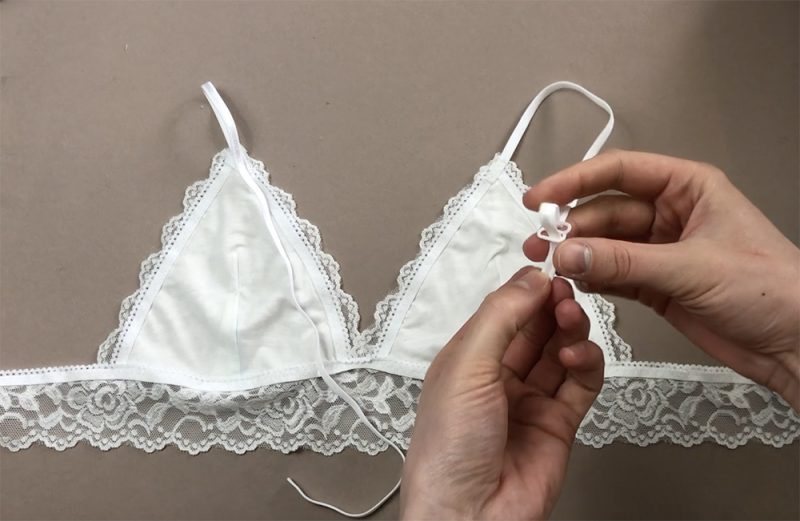
The triangles are finished. Take the band and mark the middle – in this middle pin both triangles by overlapping them about a centimeter on each other for the cups not to diverge during stretching. Pin together the cups and the band face to face, baste them.

Note that there are marks on the pattern saying which side of the triangle should be placed in the center and which one from the side.
Now we measure and cut off the elastic band the same length as the band. We pin the elastic band to the upper cut of the band on the right side, coinciding the even edge of the elastic band and the cut of the band, the festoon of the elastic band looks down As we pinned an elastic band, lay an elastic stitch – a small zigzag

Stretch the elastic band a little, cut off the excess
Cut off the extra allowance as well Now we turn the elastic band to the wrong side of the band and stitch a three-step zigzag to the width of the elastic band

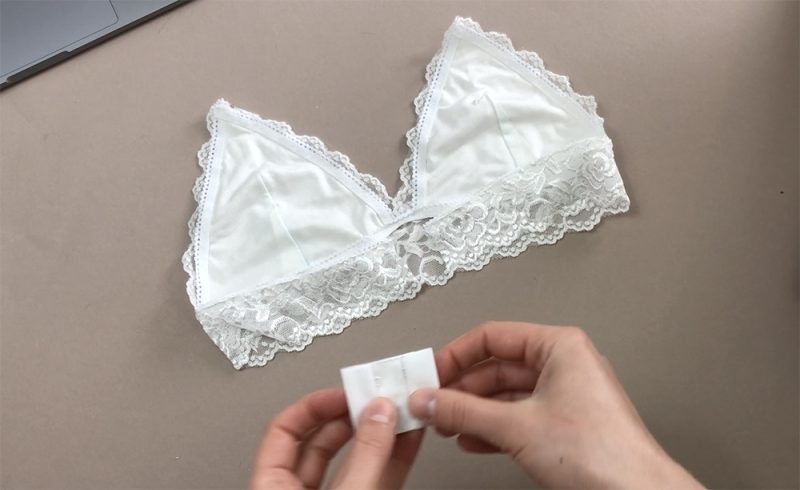
Here, we’ve got a beautiful stretch band
Now sew on the fastener. We sew the fastener with a very small and frequent zigzag.
Let’s get to the straps:
Cut off 2 pieces of straps 5 cm long to sew the ring on it and 2 straps 45 cm each.
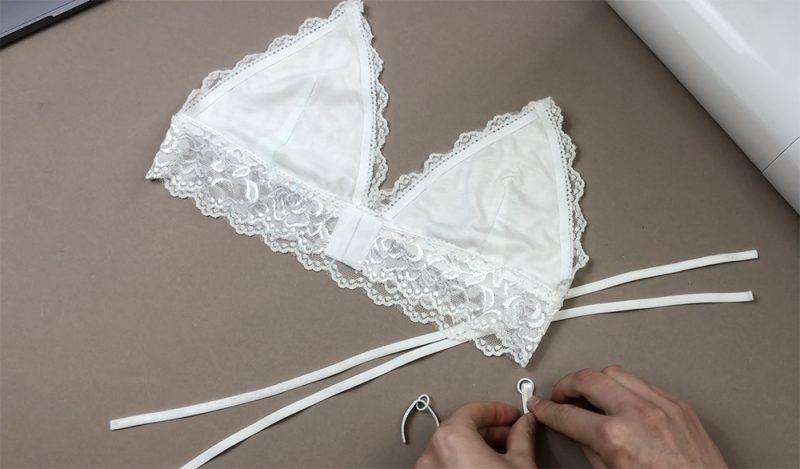
Fold the five-centimeter pieces of the straps in half, thread them into the ring and pin from the wrong side of the band at a distance of 5 cm from the edge of the fastener on both sides.
Pin the strap itself to the wrong side of the triangles. Stitch a small zigzag to connect the straps with the band and cup pieces.
The free edge of the straps can be scorched a bit with a lighter or a match so that it does not disperse.

How to make an adjustable strap
Take the slider and the free end of the strap, first thread the strap from the bottom into the far hole of the slider, then from above into the near one, then into the ring. And please make sure that the strap does not twist.
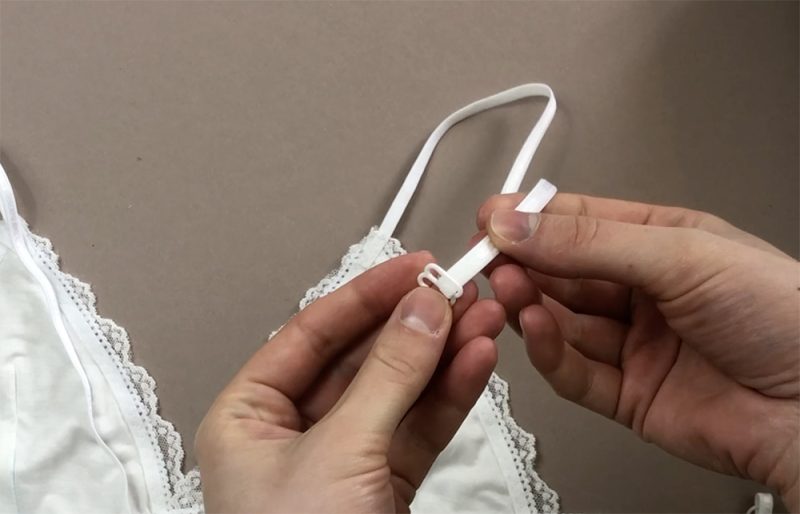
Passed through the ring and then again you need to do the same — from the bottom into the far hole and from above into the near one, but now it should be done under the previous layer of straps))
pull out about one and a half centimeters and pin together, here we will lay a connecting stitching or a small frequent zigzag or a straight stitch back and forth several times.

Do the same with the second strap.
That is it, the straps are finished and so is our bralette.